
It's All About the Images
It is all about the images

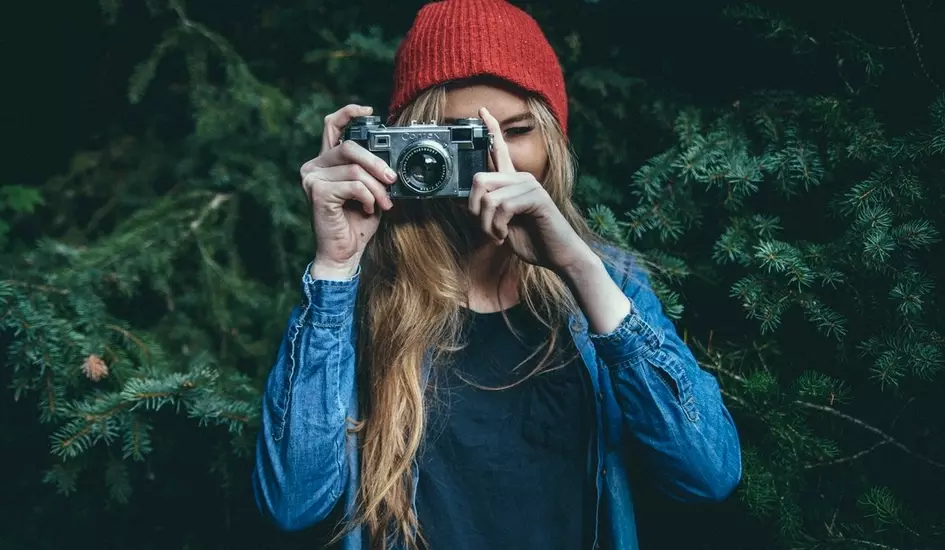
Images make everything online better. Not only do they make the web a much more appealing place to spend time on, but also have serious conversion implications. There are reports which show that blog posts with relevant images get 94% more total views on average! So how do I make sure my blog posts are getting that kind of viewing action I hear you ask? In a nutshell your choice of image is crucial and worth spending at least ten minutes on for each and every blog post. There are simply three main points to keep in mind when choosing images:
1. Keep it relevant.
An image can speak a thousand words is the phrase to keep in mind. Images speak more quickly and more directly to the subconscious than words alone. Infographics sprouted up everywhere as brands cottoned on to the conversion magic which can occur when complicated data is made simple with graphics. So our first tip is to make sure the image you choose is relevant to your blog post so helping to communicate what the post is about.
2. Make sure it looks good.
Initially, it needs to be the right resolution and of sufficient quality to not detract from the overall quality of your website and brand. Access to some basic image editing software is helpful. Resizing and cropping may be needed. We wrote another handy set of tips on why image size matters here and we suggest using either Photoshop if you have it or GIMP or something similar for basic image editing.
How do I make sure it's the right resolution? Each image just needs to be somewhere in the region of at least 800px wide at 72dpi as a bare minimum. Equally, we would recommend images less than 1200px wide so that your site speed is not compromised.
How do I make sure it's the right quality? This is simply a case of using your eyes to check the image is sharp and in keeping with your brand. With a really strongly designed website, all the images have a similar brand feel giving a strong identity to the entire website. Lighting, colour balance, composition, and actual image content all go towards creating a strong brand identity. Make sure you pay attention to every image you upload.
3. Check it in all views once published.
Check what your image looks like once you've published your post in both your list view (i.e. the long list where all your blog posts list under each other with a small image next to each item) and your item view (i.e. the view which a site visitor sees if they click to read your entire blog post). If the image in either view isn't looking good then you will need to edit it or change it. In iPages you can have a different list view image to your main image if the same image doesn't work in both views. You simply go and edit 'listing' when editing a news post and drag an image into your listing image area. This is the image which will now show in your list view while the image in your main media gallery will show on your news item. Occasionally, you just need to manually crop an image into a square to upload in your list view because the original image doesn't naturally crop well with the default crop settings.
Here is an example of how checking and resizing can make all the difference in your list view.

4. I don't have any images. Where can I find some good ones?
There are some great resources for free quality stock images. Some of our favourite sources are Unsplash and Gratisography who supply images which are free to use for both commercial and personal use.
We hope this information is helpful.